|
|
||
Source: www.photoshopmanipulation.com
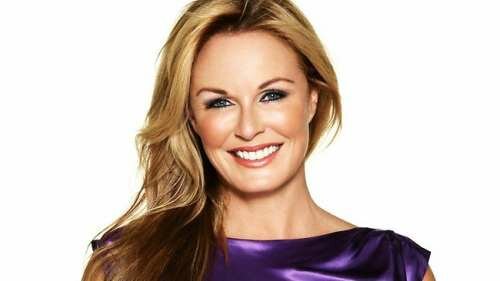
Open up the photo in Photoshop that you want to change the eye color on.
Original image

2. Click the "Edit in Quick Mask Mode" toggle button.
3. Select an appropriate brush size and choose black as your foreground color.
4. Zoom in on the iris of the eye and begin painting over the entire eye. The appearance will come out as a transparent red tone to indicate where you are applying a mask.

5. Click the "Edit in Standard Mode" toggle button.
6. Goto Select > Inverse. Only the iris of the eye should now be the selected area.

7. Goto Image > Adjustments > Color Balance.
8. When the Color Balance pop-up appears, adjust the sliders to get the color of the eye that you want.

9. Click OK and you will have changed the color of the iris to the color you chose.

10. However, the color of the iris is sometimes too bright. So goto Image > Adjustments > Hue/Saturation.
11. Adjust the Saturation slider to the left to decrease the brightness intensity of the color.

12. Click OK to accept the changes and you should now have your new realistic eye color change!

Original image
2. Click the "Edit in Quick Mask Mode" toggle button.
3. Select an appropriate brush size and choose black as your foreground color.
4. Zoom in on the iris of the eye and begin painting over the entire eye. The appearance will come out as a transparent red tone to indicate where you are applying a mask.
Anuncios Google
5. Click the "Edit in Standard Mode" toggle button.
6. Goto Select > Inverse. Only the iris of the eye should now be the selected area.
7. Goto Image > Adjustments > Color Balance.
8. When the Color Balance pop-up appears, adjust the sliders to get the color of the eye that you want.
9. Click OK and you will have changed the color of the iris to the color you chose.
10. However, the color of the iris is sometimes too bright. So goto Image > Adjustments > Hue/Saturation.
11. Adjust the Saturation slider to the left to decrease the brightness intensity of the color.
12. Click OK to accept the changes and you should now have your new realistic eye color change!